Burst Pipe: What to Do First, and What an Emergency Water Leak Repair Involves
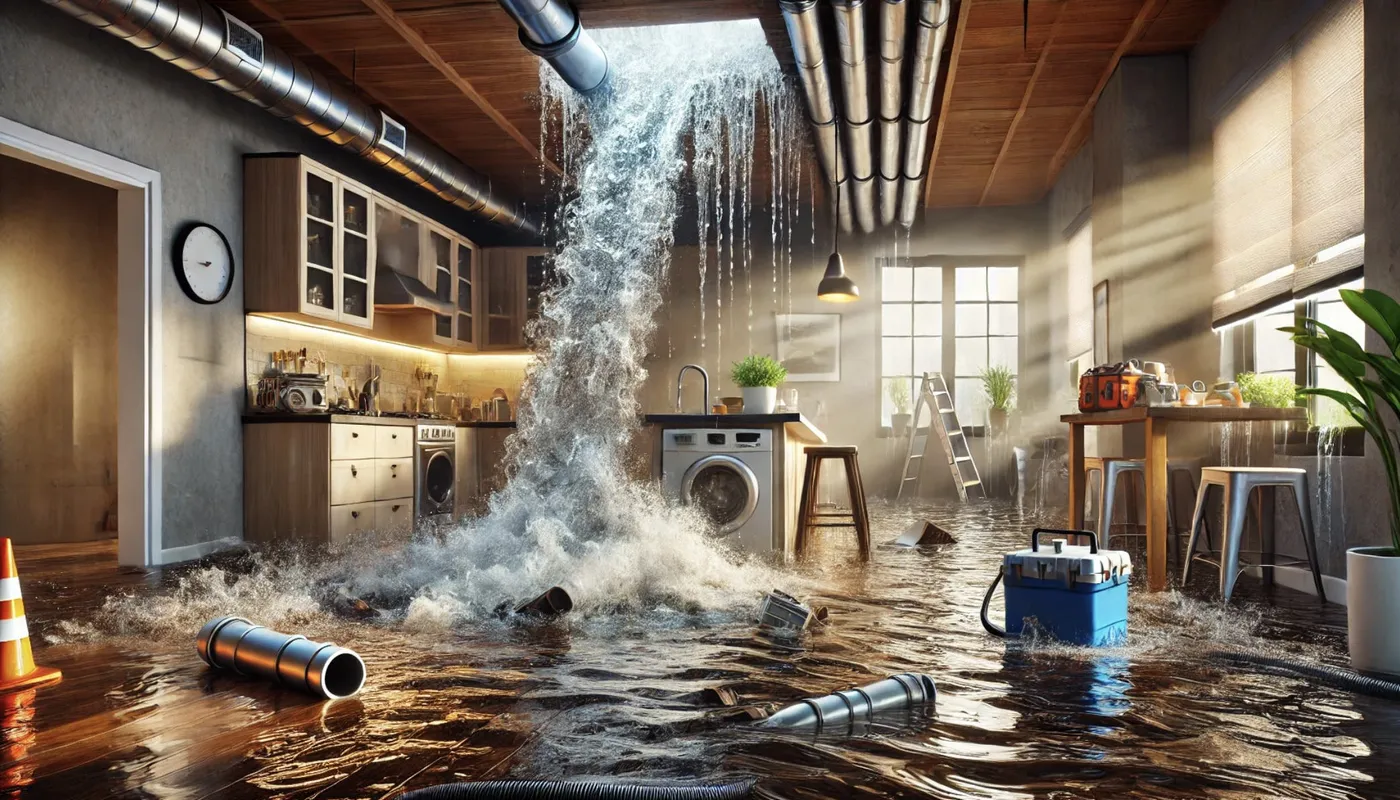
A burst pipe is one of the few plumbing situations where the order of your first few actions changes the size of the bill. Stop the water, make the electrics safe, then contain. Everything else can wait.
The first five minutes, in order
With water actively escaping, the damage accumulates by the minute and almost all of it is secondary: soaked plaster, wet insulation, lifted floors and ruined contents rather than the failed pipe itself. The pipe is a small repair. The water is the expensive part. That makes the sequence of your first actions the thing that matters most.
- Turn the water off at the internal stopcock. Clockwise to close. Then open the cold taps, starting downstairs, to drain what is left in the pipework above and drop the pressure at the split.
- Make the electrics safe. If water is anywhere near sockets, light fittings, a consumer unit or any appliance, switch off at the consumer unit if it is dry and you can reach it safely. If the consumer unit itself is wet, do not touch it, and call a qualified electrician or the distribution network operator.
- Turn the heating and the immersion heater off if water is coming from the heating system or a hot water cylinder, so nothing is firing into a system that is emptying.
- Contain and divert. Buckets under the flow, towels at door thresholds, and furniture, electrical items and anything absorbent moved clear of the area.
- Pierce a bulging ceiling deliberately. If water is pooling above a ceiling and it is visibly sagging, a controlled hole over a bucket, made from a safe position, is better than the whole section coming down at once.
- Photograph everything before you clear up. Wide shots and close shots, with the time and date, including the stopcock and the source if you can see it. That record is worth more later than anything else you do in the first hour.
- Warn anyone below. In a flat, water reaches the property underneath long before it becomes obvious to you, and a knock on the door is the difference between a manageable claim and a dispute.
What not to do is equally short. Do not use electrical appliances in a wet area. Do not stand in standing water to reach a switch. Do not pull up a soaked floor covering before it has been photographed. And do not start looking for the split before the water is off, because the search takes longer than the isolation and every minute of it costs.
Isolating the water when it is not straightforward
The instruction to turn off the stopcock assumes that you can find it and that it turns. Neither is reliably true, and the workarounds are worth knowing before you need them.
When the stopcock will not turn
A valve that has not been operated for years frequently seizes. The temptation is to apply leverage, and it is the wrong instinct: old brass stopcocks snap or split under a long bar, which replaces a controllable problem with an uncontrollable one. Gentle backward and forward movement will sometimes free it. If it will not move, go to the external stop tap at the boundary, usually under a small cover in the pavement or front garden, which normally needs a long key. Water companies will attend to operate an external stop tap in an emergency where a customer cannot.
Flats, shared risers and no accessible valve
Many converted and purpose-built flats have no external stop tap of their own, and the isolation point may be a valve in a communal cupboard serving several flats, or a riser valve that only the managing agent or a contractor can reach. In that situation the local isolating valves become important: most modern installations have a small screwdriver-operated valve at each basin, toilet cistern, appliance and sometimes at each branch, and closing the one nearest the burst can stop the flow without isolating the whole building. Finding the right one takes a few minutes, which is why knowing how to turn the water off before an emergency is worth the effort.
Hot water, cylinders and heating circuits
Closing the mains stopcock does not necessarily stop the water. A property with a stored hot water cylinder and a cold water storage cistern in the loft holds a considerable volume that will continue to feed a burst by gravity after the mains is isolated. There is usually a separate gate valve on the cold feed from the cistern and another on the cylinder outlet. A sealed heating system holds a smaller volume and empties itself fairly quickly once the pressure has gone, but the boiler and the immersion should still be switched off so nothing is heating an emptying vessel.
Why pipes burst, and where
Bursts are not random. They cluster in particular materials, particular locations and particular weather, and understanding which applies usually narrows the search considerably once the water is off.
Freezing is the classic cause and the most seasonal. Water expands as it freezes, by roughly a tenth of its volume, and a sealed length of pipe has nowhere to put that expansion, so the pipe wall or a fitting splits. The critical and counter-intuitive detail is that nothing escapes while it is frozen. The discharge starts on the thaw, which is why burst pipe calls peak as a cold spell ends rather than while it is running.
| Pipe or component | How it fails | Typical trigger |
|---|---|---|
| Copper in a loft or unheated void | Longitudinal split in the pipe wall | Freezing, discharging on the thaw |
| Copper, older thin wall in a heated area | Pinhole perforation from internal corrosion | Water chemistry and age, not weather |
| Compression joint | Nut relaxes and the joint blows apart under pressure | Thermal cycling over years, or recent disturbance |
| Plastic push-fit joint | Pipe releases from the fitting | Insert omitted or pipe not fully home at installation |
| Flexible tap connector | Braid corrodes, inner liner ruptures | Age under constant pressure, usually hidden in a cabinet |
| Appliance fill hose | Rubber perishes and the hose bursts | Standing mains pressure over years |
| Cistern or cylinder | Seam or connection failure, or an overflowing float valve | Corrosion, or a failed valve in an unattended property |
| Buried supply pipe in the garden | Split or joint failure underground | Ground movement, frost, or a spade during landscaping |
Where the water shows is not where the pipe split
A burst that appears on a first floor ceiling is very often in the floor void above it but several metres away, because water runs along the top of a ceiling or down the side of a joist and drops at the first gap it finds: a downlighter, a pipe penetration, a board joint. Cutting the ceiling directly above the drip is therefore as likely to reveal dry timber as it is to reveal the pipe. The same applies vertically in a flat: water entering a floor void on one level can appear two storeys down, having travelled inside a stud wall or a service riser on the way.
Outside, a burst on the supply pipe shows as a persistently wet patch, ground that has settled, grass that stays green through a dry spell, or water surfacing at a lower point in the garden or in a neighbouring property. It may also show nowhere at all, because a trench backfilled with loose material will carry water sideways until it meets a drain. Responsibility for the pipe from the boundary into and through the property sits with the owner rather than the water company, which is the position Ofwat sets out for household supply pipes, so a buried burst on your own land is your repair to arrange.
Temporary repairs, and their limits
There is a reasonable case for a temporary measure when a permanent repair cannot happen immediately, and a much worse case for treating one as a fix.
A proprietary pipe repair clamp, correctly sized and fitted to a clean, dry, depressurised pipe, will hold a split for a period and is the only temporary measure worth much. Self-amalgamating tape wrapped under tension over a pinhole will hold a very small leak at low pressure. Epoxy putty can bridge a pinhole on a dry pipe. None of these is appropriate on a pipe that is still under mains pressure, none of them addresses the reason the pipe failed, and all of them fail without warning.
| Temporary measure | Where it is reasonable | Why it is not a repair |
|---|---|---|
| Pipe repair clamp | A clean split on a straight run, pipe isolated and dry | Relies on a gasket under compression that relaxes over time |
| Self-amalgamating tape | A pinhole, low pressure, as a short holding measure | No mechanical strength; fails when pressure returns to normal |
| Epoxy putty | A pinhole on a dry, clean, isolated pipe | Adhesion fails with thermal movement and pipe vibration |
| Tightening a weeping compression joint | A slight weep, a small fraction of a turn only | Overtightening deforms the olive and makes the leak worse |
| Bucket and towels | Always, while waiting | Containment, not repair, but it limits secondary damage effectively |
Anything that stays in the system permanently has to be suitable for contact with drinking water, which is what the Water Supply (Water Fittings) Regulations 1999 and the Water Regulations Approval Scheme exist to govern. A tape and putty repair on a mains supply is not a compliant installation, whatever it is holding back at the time. Our guide to stopping a leaking pipe temporarily sets out what each measure will and will not do.
What an emergency water leak repair visit involves
The work divides into four stages, and the order rarely changes because each one depends on the last.
Make safe. Confirm the water is isolated, confirm the electrical situation, and stop the flow at the nearest workable point. On arrival this frequently means finding and operating an isolation point the occupier could not, whether that is a seized stopcock, an external tap under a buried cover or a valve in a communal riser.
Locate. Where the split is visible, this stage is trivial. Where it is not, which is common when a ceiling is wet and the pipe is somewhere in the floor above, the location work has to happen before anything is opened. Acoustic listening on a pressurised run, thermal imaging where there is a temperature difference to read, tracer gas where there is not, and moisture mapping to establish the extent of the wetting all narrow the area before a tool touches the fabric. The alternative, which is opening up until the pipe appears, is what produces the large reinstatement bills people associate with leaks. Our emergency leak detection attendance is built around locating before opening.
Repair. A cut-out and replacement section is the standard answer for a split, jointed with a method appropriate to the pipe material and to whether the joint will be accessible afterwards. Fittings that will be buried should not be mechanical. Where the failure is a symptom of something wider, such as a run of pinholing copper or a supply pipe that has failed once and will fail again, the repair and the longer-term recommendation should be presented as separate decisions rather than bundled.
Test and restore. The section is pressurised and held before anything is closed up, the supply is restored gradually rather than all at once to avoid disturbing debris through the system, and outlets are run to clear air and any discolouration. Where a heating system has been drained, the corrosion inhibitor has to be replaced, because it left with the water. A burst pipe repair that ends without a pressure test is not finished.
After the water is off and the pipe is fixed
The repair is the short part. Drying and documentation are what determine whether the incident ends in a fortnight or in a dispute six months later.
- Notify your insurer early, before commissioning work where you can. Costs incurred before notification are the ones most often queried. Ask specifically whether the policy includes trace and access, which covers the cost of locating a leak and of the opening up and making good needed to reach it.
- Keep detection, repair and making good as separate items on every invoice and quote. A single undifferentiated figure invites an adjuster to query all of it.
- Do not throw damaged items away until they have been photographed and, where the claim warrants it, inspected.
- Dry properly rather than quickly. Plaster, screed and timber hold far more water than they look like they do, and a floor finish laid back over a substrate that is still wet will fail. Moisture content is measured, not judged by appearance.
- Ventilate and keep heat on gently. Sealing a wet room up produces mould; blasting heat at wet timber warps it.
- Deal with the cause, not just the pipe. If the burst was a frozen loft pipe, the lagging is part of the job. If it was a flexible connector, the other connectors in the property are the same age.
Drying takes longer than the repair, by a wide margin
The most common mistake after a burst is treating the visible water as the problem. Plaster, screed, chipboard, mineral wool insulation and structural timber all absorb a great deal of water and release it slowly, and a room that looks and feels dry within a few days can still hold enough moisture to cause paint to fail, skirtings to move, laminate to swell and mould to establish behind a redecorated surface. Wet insulation in a floor void is a particular offender, because it is out of sight, it holds water for a very long time and it keeps the timber around it damp.
The right approach is measurement rather than judgement: readings taken at the surface and at depth, repeated over days, until the material has returned to a moisture content that a finish can be laid over. Assisted drying with dehumidification and gentle background heat is quicker than opening windows in a British winter, and it is far quicker than waiting. Where an insurer is involved they will usually have a view on the drying approach, which is another reason to notify early rather than after the work.
When to call rather than wait
Some situations do not tolerate a next-day appointment: water at or near a consumer unit or any electrical installation, water entering a flat below, a ceiling holding water and visibly sagging, water that cannot be isolated because no valve will close, or a burst on a buried supply pipe undermining a structure. In those cases the water needs isolating by someone who can reach the valve, which is the point at which an emergency plumber is the right call rather than a scheduled one.
Where water has come through a ceiling into a room or a flat below, treat that as its own problem with its own record, because it is frequently the part that becomes contentious. Our guidance on water leaking through a ceiling covers what to do and what to keep. And if the property is still losing water after the visible repair, with the meter turning and everything closed, there is a second leak rather than a failed fix, and it needs locating rather than assuming.
How we help with this
If the article describes a problem you actually have, these are the visits that deal with it.
- burst pipe repair
A split or burst pipe isolated and repaired, day or night.
- leak detection in London
Finding a hidden leak without opening the property up first.
- an emergency plumber in London
Attendance when water is running and damage is still spreading.
Frequently asked questions
What should I do first when a pipe bursts?
Turn the water off at the internal stopcock, clockwise to close, then open the cold taps starting downstairs to drain the pipework above and drop the pressure at the split. Next, make the electrics safe: switch off at the consumer unit if it is dry and safely reachable, and if the unit itself is wet, do not touch it. Then contain with buckets and towels, move electrical items clear, and photograph everything before you start clearing up.
The stopcock will not turn. How do I stop the water?
Do not force it with a long bar, because old brass stopcocks snap or split under leverage and that turns a controllable problem into an uncontrollable one. Try gentle movement back and forth first. If it will not move, go to the external stop tap at the property boundary, usually under a small cover in the pavement or front garden and operated with a long key. Water companies will attend to operate an external stop tap in an emergency where a customer cannot do so.
Water is still running after I turned the mains off. Why?
Because the mains is not the only water in the building. A property with a cold water storage cistern in the loft and a stored hot water cylinder holds a considerable volume that continues feeding a burst by gravity after the stopcock is closed. Look for a separate gate valve on the cold feed from the cistern and another on the cylinder outlet, and close those. Switch the boiler and any immersion heater off as well, so nothing is heating a vessel that is emptying.
Can I patch a burst pipe myself until someone can come out?
A correctly sized proprietary repair clamp, fitted to a clean, dry, depressurised pipe, will hold a split for a period and is the only temporary measure worth much. Self-amalgamating tape and epoxy putty will hold a pinhole briefly at low pressure. None of these is safe to attempt on a pipe still under mains pressure, none addresses why the pipe failed, and all fail without warning. Anything permanent on a drinking water supply has to be a compliant fitting, not a patch.
Why do burst pipes appear when the weather warms up rather than during the freeze?
Because the ice is plugging the pipe. Water expands by roughly a tenth of its volume as it freezes, and a sealed length of pipe has nowhere to put that expansion, so the pipe wall or a fitting splits while it is frozen solid. Nothing escapes at that point, because the ice is still blocking the pipe. The discharge starts when the plug thaws, which is why burst pipe callouts peak as a cold spell ends rather than while it is at its coldest.
Will my insurance cover an emergency burst pipe repair?
Most buildings policies respond to a sudden escape of water and to the resulting damage, and many include a trace and access extension covering the cost of finding the leak and of opening up and making good to reach it. Cover generally does not extend to the failed pipe itself, and gradual deterioration is commonly excluded. Notify the insurer as early as you can, ideally before commissioning work, and ask for detection, repair and reinstatement to appear as separate costed items on the paperwork.