What Does a Leak Detection Survey Involve? The Full Sequence, Start to Report
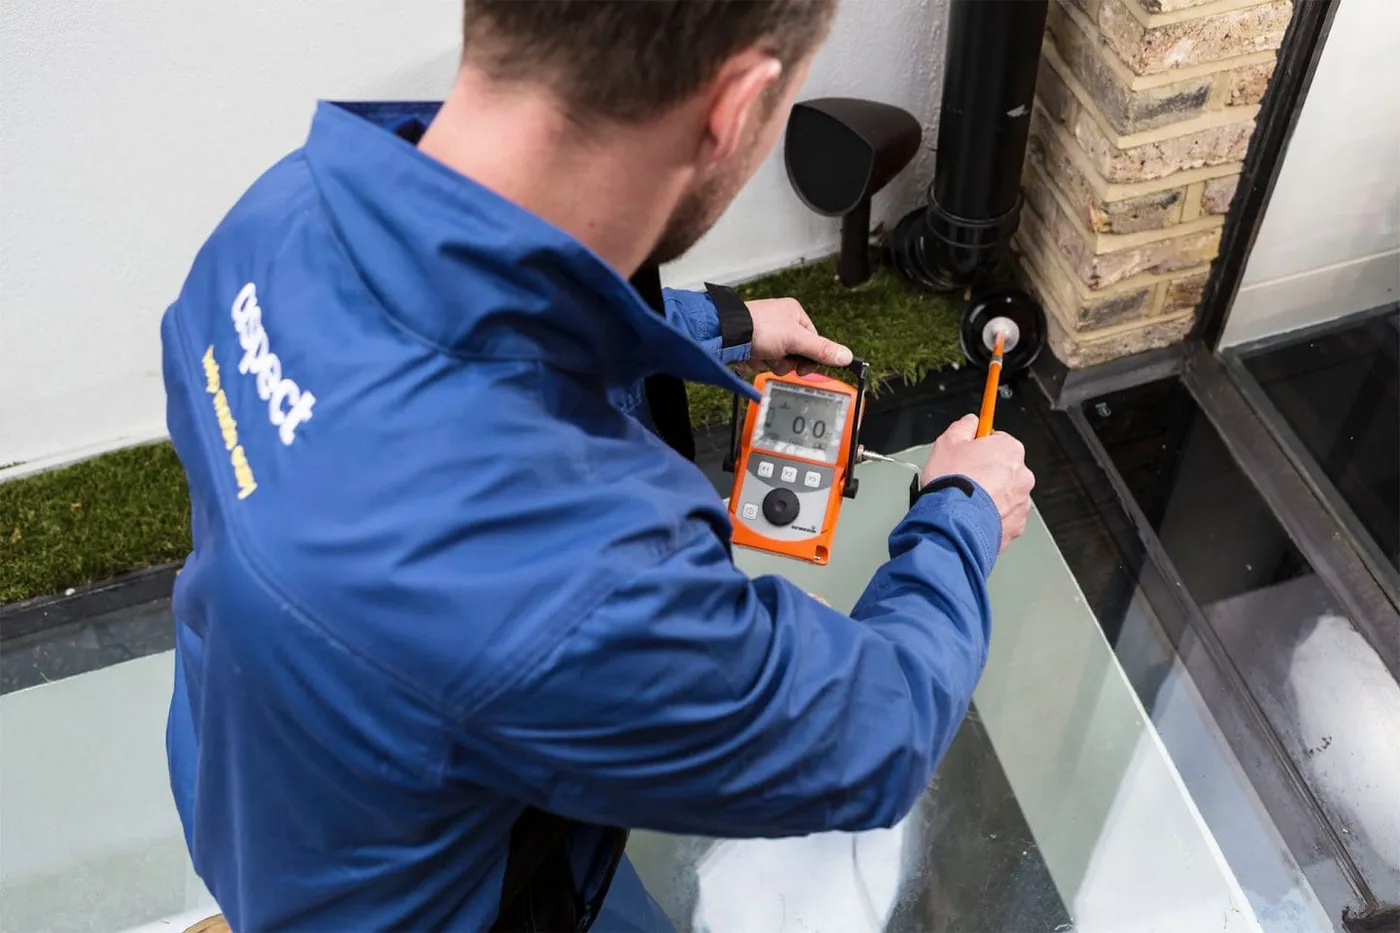
A survey is a structured elimination, not a walk round with a camera. Here is the sequence an engineer follows, what has to be available for it to work, how long it realistically takes, and what an inconclusive result actually means.
What a survey is, and what it is not
A water leak detection survey is a structured process of elimination. It sets out to establish three things in order: that water is genuinely escaping, which system it is escaping from, and where the escape point is, to a precision that lets one small area be opened rather than a whole floor.
What it is not is an inspection. Nobody arrives, looks at a stain and announces where the pipe failed. The instruments each read one physical property, none of which is water inside a pipe, and every one can be fooled. Reliability comes from the sequence and from corroboration, not from a single reading. An engineer who answers in ten minutes with one instrument and no confirming test is guessing with expensive equipment.
It is also not a repair, and the two should be priced separately. A survey ends with a located fault and a report. What follows is a repair scope, which may be the same engineer on the same visit, or a different trade. Our article on the difference between a leak detection specialist and a plumber covers where that line sits.
Before the engineer arrives
A surprising proportion of the outcome is decided before anyone turns up, because the survey depends on the property being in a testable state and on the history being accurate.
The questions that get asked on the phone
These are not small talk. Each one eliminates something.
- What have you actually seen, and when did it start? A stain that appeared overnight and one that has grown over a year point at different systems.
- Is the water hot or cold, where you can feel it? This splits the job immediately.
- Does it correlate with anything? Use of a shower, the heating running, rainfall, a washing machine cycle, time of day. A leak that only appears when it rains is not a plumbing leak.
- Is the meter moving with everything off? If it is, there is pressurised loss and the survey has a clear target. If it is not, the likely candidates are waste, drainage, roof, or condensation.
- Is the boiler losing pressure? A sealed system dropping pressure narrows the field to the heating circuit or a discharging relief valve.
- What has been done recently? A bathroom refit, a new floor, work by a neighbour, a repair that was supposed to have fixed it. Recent work is the most common single cause.
- What is the construction? Suspended timber floor, solid slab, screed, underfloor heating, flat or house, age of building.
What to have ready
Access to the stop tap, the water meter, the boiler and its pressure gauge, the loft if there is one, and any service cupboards. Clear space around the area of concern, because instruments are used at floor level and furniture has to move anyway. If the property is a flat, the contact details for the managing agent and, where the damage is below you, the neighbour, because a survey that needs to look at the ceiling underneath cannot proceed without permission. And if you have them, recent water bills or meter readings, which turn a suspicion into a measured rate of loss.
One practical request that often gets missed: the property should be in its normal state. Do not air it out thoroughly, run the dehumidifier hard or dry the patch before the visit. A survey reads moisture and humidity, and a property that has been prepared to look presentable has had its evidence removed.
The sequence on site
| Stage | What happens | What it establishes |
|---|---|---|
| 1. Interview and walk round | History, symptoms, timing, previous work, construction, and a look at the affected area | Which systems are plausible and which can be dropped |
| 2. Meter isolation test | Everything off, meter read, internal stop tap closed, meter read again | Whether there is pressurised loss, and whether it is inside or on the supply pipe |
| 3. System isolation | Circuits closed off one at a time at service valves | Narrows the loss to a specific circuit rather than the whole installation |
| 4. Pressure testing | Isolated circuit brought to test pressure with a calibrated gauge and held | Proves or eliminates each circuit, including the heating |
| 5. Moisture mapping | Surveying the affected area with non invasive and pin meters, plus hygrometry | The extent and shape of the wetting, and whether it is condensation |
| 6. Instrument work | Acoustic, thermal imaging, tracer gas, endoscopy, drain camera as the case requires | The location of the escape point |
| 7. Confirmation | A second, independent indication at the same point wherever possible | That the finding is real and not an artefact of one instrument |
| 8. Report and discussion | Findings, location references, photographs, access required, recommendation | What you or a contractor does next |
Why stages two to four come before the instruments
Because they are cheap, fast and conclusive in a way that instrument work is not. A circuit that holds test pressure is not leaking, and eliminating it takes minutes. BS EN 806-4, which covers water installations inside buildings, describes a tightness test in which the system is filled with water, fully vented, and held at a test pressure of 1.1 times the maximum design pressure with no pressure drop permitted, and it is explicit that the test is done with water rather than air. An engineer who starts with a thermal camera and never isolates anything is working without the two results that would have narrowed the whole job.
Why confirmation matters more than detection
Every instrument produces false positives. A capacitance moisture meter reads a metal mesh, a cable run or dense material as if it were wet. A thermal camera reads a reflection off gloss paint or tile as a temperature anomaly. A ground microphone picks up a cistern refilling two rooms away. Acting on one reading is how floors get opened in the wrong place. The standard for infrared building surveys makes the same point in its own terms: BS EN 13187, now superseded by BS EN ISO 6781-1, describes thermography as a qualitative method for detecting thermal irregularities, which are then investigated, not diagnosed from the image. The whole methodology is set out in our article on how leak detection works.
How long a survey takes, and what makes it longer
A straightforward domestic survey is usually a half day rather than an hour, and the honest framing is that the duration is driven by the method the property forces you into rather than by the size of the leak.
| Situation | Effect on duration | Why |
|---|---|---|
| Hot water or heating leak under a floor | Usually the quickest | Thermal imaging reads the temperature difference directly |
| Cold supply leak under the same floor | Longer | Little or no thermal signature, so it goes to acoustic and often tracer gas |
| Leak requiring tracer gas | Adds substantially | The system must be drained, charged, and the gas has to reach the surface |
| Heating system involved | Adds at both ends | Draining, then refilling, re dosing inhibitor and bleeding afterwards |
| Intermittent leak | Can require a return visit | The fault has to be present to be found, so the condition must be reproduced |
| Waste or shower leak | Slow and methodical | Each element is water tested in isolation with dwell time between tests |
| Flat with damage below | Depends on permissions | Access to the neighbour's ceiling cannot be arranged on the spot |
| Noisy environment or busy street | Extends acoustic work | Background noise masks the leak signal, sometimes forcing a quieter time of day |
The other duration factor is honesty about the intermittent case. Some leaks are only present under conditions that are not occurring when the engineer is standing there: a joint that weeps only at full mains pressure at night, a waste that leaks only under the load of a full bath, a roof that only lets water in with wind from one direction. Those jobs are done by reproducing the condition, and where it cannot be reproduced in a single visit, that is what the report should say.
Access, disruption and what does not get broken
The point of a survey is to avoid opening the building speculatively, so the working assumption is non invasive. In practice that means furniture and floor coverings move, loft hatches and service cupboards are opened, panels around baths and behind toilets come off where they are designed to, and the heating and water may be off for periods during testing.
What is genuinely invasive is limited and should always be discussed with you before it happens. A small inspection hole for an endoscope, a lifted floorboard on a suspended timber floor, the removal of a bath panel that is tiled in rather than screwed. None of that is done on a hunch, and all of it should be presented as a choice with a reason.
There are also things a survey will stop for. Suspected asbestos in a textured coating or insulating board in a building predating 2000 is controlled work under the Control of Asbestos Regulations 2012, and the right response is to stop and arrange the appropriate survey rather than disturb it. Water that has tracked into lighting, sockets or a consumer unit means that circuit is isolated and stays isolated until an electrician has inspected and tested it. And a ceiling that is bulging with held water is a hazard in its own right before it is a diagnostic problem.
When a survey cannot close the question
This is the section most companies leave out, and it is the one that tells you whether you are reading an honest account. Surveys do not always end with a point marked on a floor, and there are specific, recognisable reasons.
- The leak is not currently leaking. An intermittent fault that is dormant during the visit cannot be located. It can only be narrowed, with a plan for reproducing it.
- The construction blocks every method. A fully sealed floor finish over a deep screed can trap tracer gas, give no thermal signature on a cold pipe, and damp acoustic signal to nothing.
- It is not a plumbing leak. Penetrating damp, a failed roof detail, a blocked gutter, a bridged damp proof course or straightforward condensation all produce wet building and no meter movement. The survey has still answered the question, just not the expected one.
- Multiple simultaneous sources. Rarer than people assume but real, and it shows up as a result that only partly explains the symptoms.
- Access is refused or unavailable. A neighbour's ceiling, a locked riser cupboard, a communal void controlled by a managing agent.
- Background conditions defeat the instruments. Persistent traffic noise, a floor that has had sun on it, an underfloor heating loop dominating every thermal image.
An inconclusive result is a legitimate outcome, provided it is stated as one and comes with what was ruled out, what would be needed to go further, and what it would cost. What is not legitimate is a confident location that cannot be corroborated, because someone will act on it and open a floor.
No find, no fee, and what it really means
Plenty of firms advertise a no find no fee arrangement and it is worth understanding what triggers it. The definition of a find varies, and the useful question is what happens in the cases above: an intermittent leak, a result that identifies the cause as not being a plumbing leak, or a location narrowed to an area rather than a point. Our article on no find no fee leak detection explained sets out the terms to check before booking, and what leak detection costs in London covers how surveys are priced.
What the report should contain
The report is the deliverable. It is what a plumber works from, what a loss adjuster assesses, and what a managing agent circulates, so it has to work for all three.
| Element | What good looks like | What is not good enough |
|---|---|---|
| System identified | Named specifically: cold supply, hot supply, heating flow or return, waste, soil, external drainage | "A leak in the bathroom" |
| Location | Measured from two fixed features, with a photograph and a mark on site | "Under the hall floor" |
| Methods used | Each method listed, including the ones that gave no result | A generic list of equipment the company owns |
| Confidence | Stated plainly: pinpointed, or narrowed to an area of a given size | Implied certainty with nothing behind it |
| Extent of damage | Moisture readings and the affected area, separate from the leak location | Nothing, leaving the drying scope unknown |
| Access required | What has to be opened, and any constraint such as screed, asbestos or a neighbour | Silence, so the constraint surfaces on the repair day |
| Photographs | Dated, including thermal images with the visible light reference | A single wide shot of a room |
| Cost breakdown | Detection, repair and reinstatement as separate lines | One line reading "attended, found and fixed leak" |
That last row matters more than it looks. Where a buildings policy includes a trace and access extension, the extension is written around finding the leak and the opening up and putting back needed to reach it, not around the failed pipe. A combined invoice gives an adjuster nothing to allocate, and it is the most common reason a legitimate claim stalls. Our page on trace and access in London deals with that in detail.
What happens after the survey
With a located fault there are three broad routes and they should be laid out as choices rather than assumed. The pipe is accessible and can be repaired the same visit. The pipe is reachable but needs a different trade, a part, or a permission, so it becomes a scheduled return. Or the location is known but reaching it involves structural work, a screeded floor, another leaseholder's property or a controlled material, in which case the next step is a scope rather than a spanner.
In all three the water should be left safe before anyone leaves, isolated at the nearest working valve with the leak contained, even where the repair is days away. And the report should arrive in writing rather than as a verbal summary at the door, because the people who need it most, the insurer and whoever does the repair, were not standing there. If you are still choosing who to book, our guide to choosing a leak detection company in London covers the questions that separate firms quickly.
How we help with this
If the article describes a problem you actually have, these are the visits that deal with it.
- trace and access surveys
The survey and written report an insurer or loss adjuster asks for.
- our full guide to leak detection
How each method works and when it is the wrong tool for the job.
- leak detection in London
Finding a hidden leak without opening the property up first.
Frequently asked questions
What happens during a water leak detection survey?
It runs as a sequence. The engineer takes the history and symptoms, then uses a meter isolation test to establish whether there is pressurised loss and whether it is internal or on the supply pipe. Circuits are isolated and pressure tested one at a time to eliminate them. Moisture mapping defines the extent of the wetting. Only then do acoustic, thermal or tracer gas instruments go to work on locating the point, and the finding is corroborated by a second independent indication before anything is opened.
How long does a leak detection survey take?
A domestic survey is usually a half day rather than an hour, and the duration is driven by the method the property forces rather than by the size of the leak. Hot water and heating leaks tend to be quickest because thermal imaging reads them directly. Cold supply leaks under solid floors take longer. Tracer gas adds substantially, because the system has to be drained, charged, and the gas has to work its way to the surface through the floor build up.
Will a leak detection survey damage my property?
The working assumption is non invasive. Furniture and floor coverings move, loft hatches and service cupboards open, bath and toilet panels come off where they are designed to, and the water or heating may be off during testing. Anything genuinely invasive, such as a small inspection hole for an endoscope or a lifted floorboard, is discussed with you first and done for a stated reason. Suspected asbestos in a pre 2000 building stops work rather than being disturbed.
What if the survey does not find the leak?
It is a legitimate outcome in specific circumstances and should be reported as one. An intermittent fault that is dormant during the visit cannot be located, only narrowed. A sealed floor over deep screed can defeat every method at once. And sometimes the answer is that it is not a plumbing leak at all but penetrating damp, a roof detail or condensation, which is still a result. What you should get is what was eliminated, what would be needed to go further, and what that costs.
What should I do to prepare for a leak detection visit?
Give access to the stop tap, the water meter, the boiler and its gauge, the loft and any service cupboards, and clear space around the affected area. Have recent meter readings or bills if you can. In a flat, have the managing agent's and, where damage is below you, the neighbour's contact details ready. Importantly, leave the property in its normal state: airing it out or drying the patch before the visit removes the moisture and humidity evidence the survey depends on.
What should a leak detection report actually say?
Which system is leaking, named specifically rather than by room. The location, measured from two fixed features, with photographs and a mark on site. Every method used, including the ones that returned nothing. An honest confidence level, pinpointed or narrowed to an area. The extent of the damage from moisture readings, separately from the location. What access is required and any constraint. And costs broken into detection, repair and reinstatement so an insurer can allocate them.